Restoring my Apple IIe
Matt Jacobson
When I started at Apple, a family friend very generously donated me her old Apple IIe. I've never felt like I had enough space or time to devote to it, so recently I decided to force myself to start, and I also decided to try to write up as much of the process as reasonable.
I'm going to start by giving myself permission to write this mostly for my future self and not as any sort of comprehensive guide to the Apple II, because plenty of people have done that way better already.
The Apple IIe in question came from central New Jersey, and I believe it was used at a school library. It's an Apple IIe Enhanced (A2S2064). I also have:
- two 5.25-inch UniDisk drives (A9M0104)
- a Monitor II (A2M2010)
- a Franklin-branded joystick (possibly a Kraft?)
- a couple Franklin disk controller cards
- a ton of third-party software
- lots of original documentation
I last booted it up about a decade ago, and things seemed to work fine. In hindsight, I wasn't very careful when I did that, so I'm going to try to be more methodical this time.
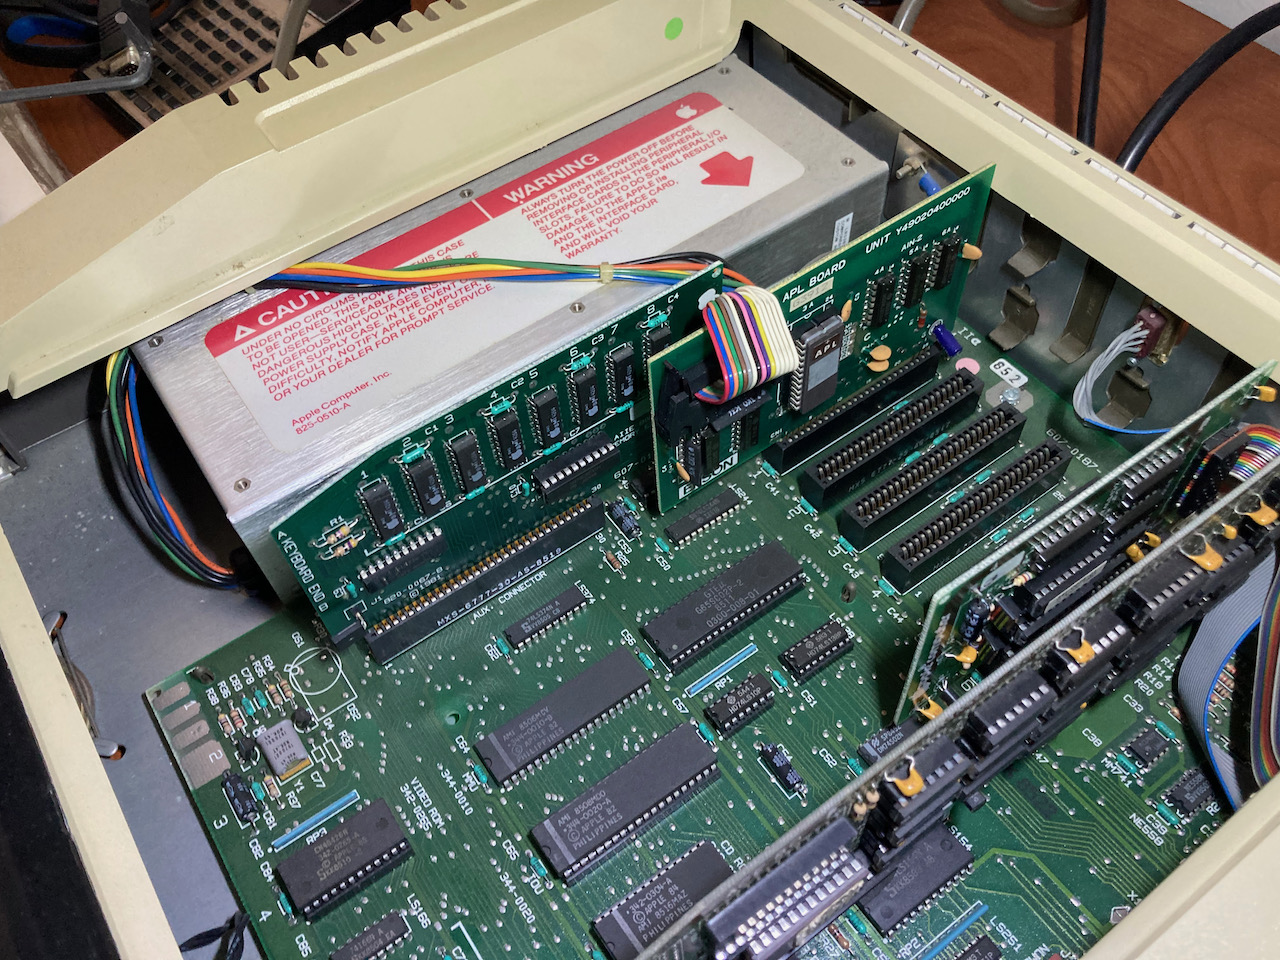
Opening up the case, I see four expansion boards:

- an Apple II Extended 80-Column Text Card (820-0067-B) (in the auxiliary slot)
- an Epson APL Parallel Printer Card (Y49020400100)
- an Apple 5.25 Controller (820-5003-A) floppy disk controller
- a Franklin Ace-80, a Z80 processor card that adds the ability to run CP/M
Ultimately I want to start by booting up the machine without any expansion boards attached. But the first thing I want to do is test the power supply, to make sure it itself seems OK and that it's spitting out correct voltages.
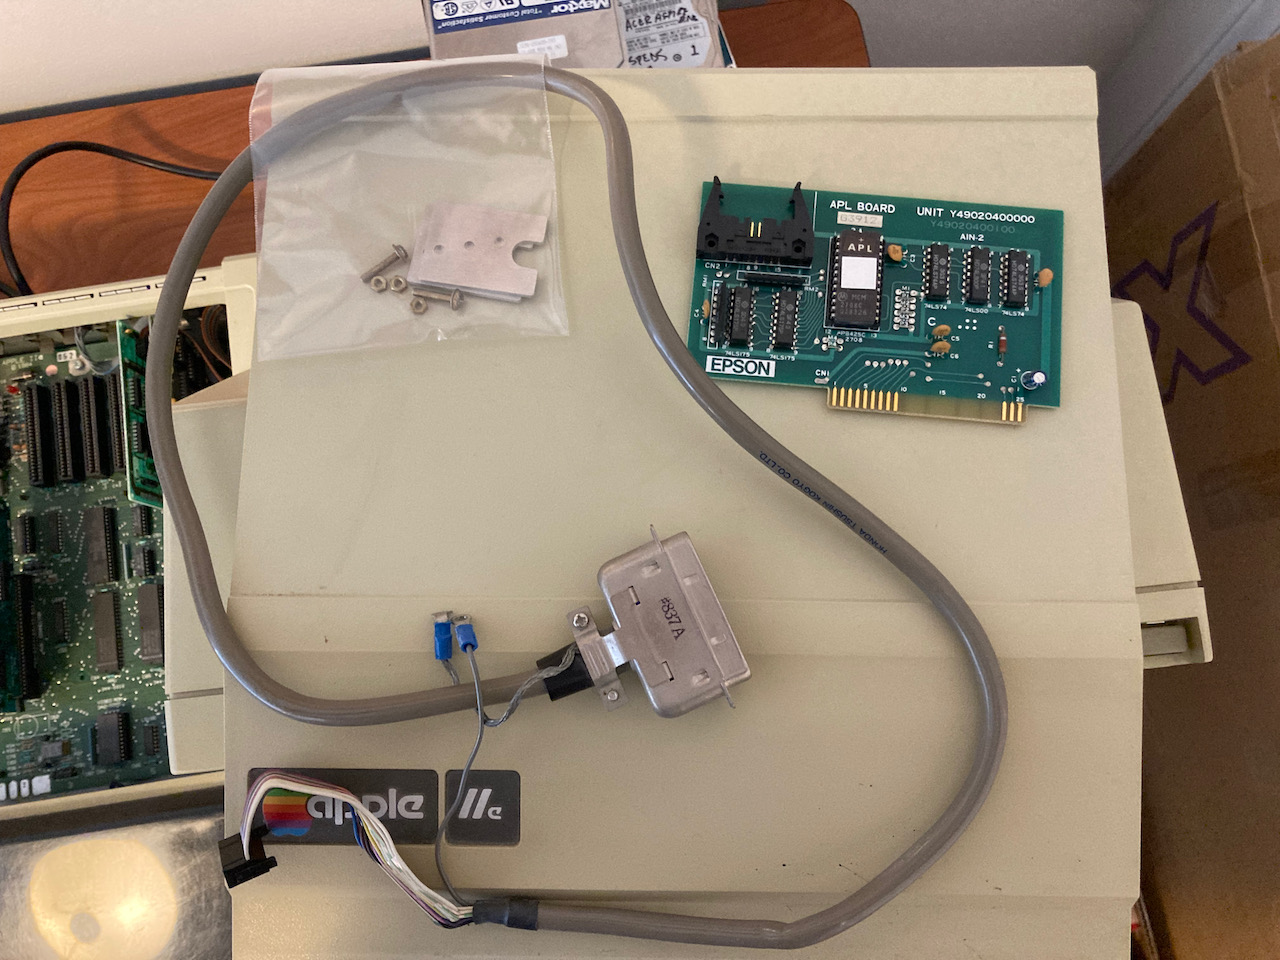
The power supply connector on the main logic board is toward the left side of the case, and I'd like as much room as possible to get it out safely. Since I don't have an Epson line printer (and don't currently plan on finding one), the first thing I did was to remove that card to give myself a little more space.
The card has a cable attached to it, and the cable goes straight out the back of the case, secured in place by a couple steel plates. Taking the plates off made it easier to give myself a little more cable slack to take the card out without damaging anything.
Next up is to look at the power supply.