
Restoring my Apple IIe, part 2
Matt Jacobson
This is a follow-on to earlier blog entries about booting up an old Apple IIe.
Before powering anything, I want to check out the power supply. If the power supply is generating too-out-of-range voltages, it could damage something on the logic board. In the worst case, the power supply itself could overheat and cause lots of problems.
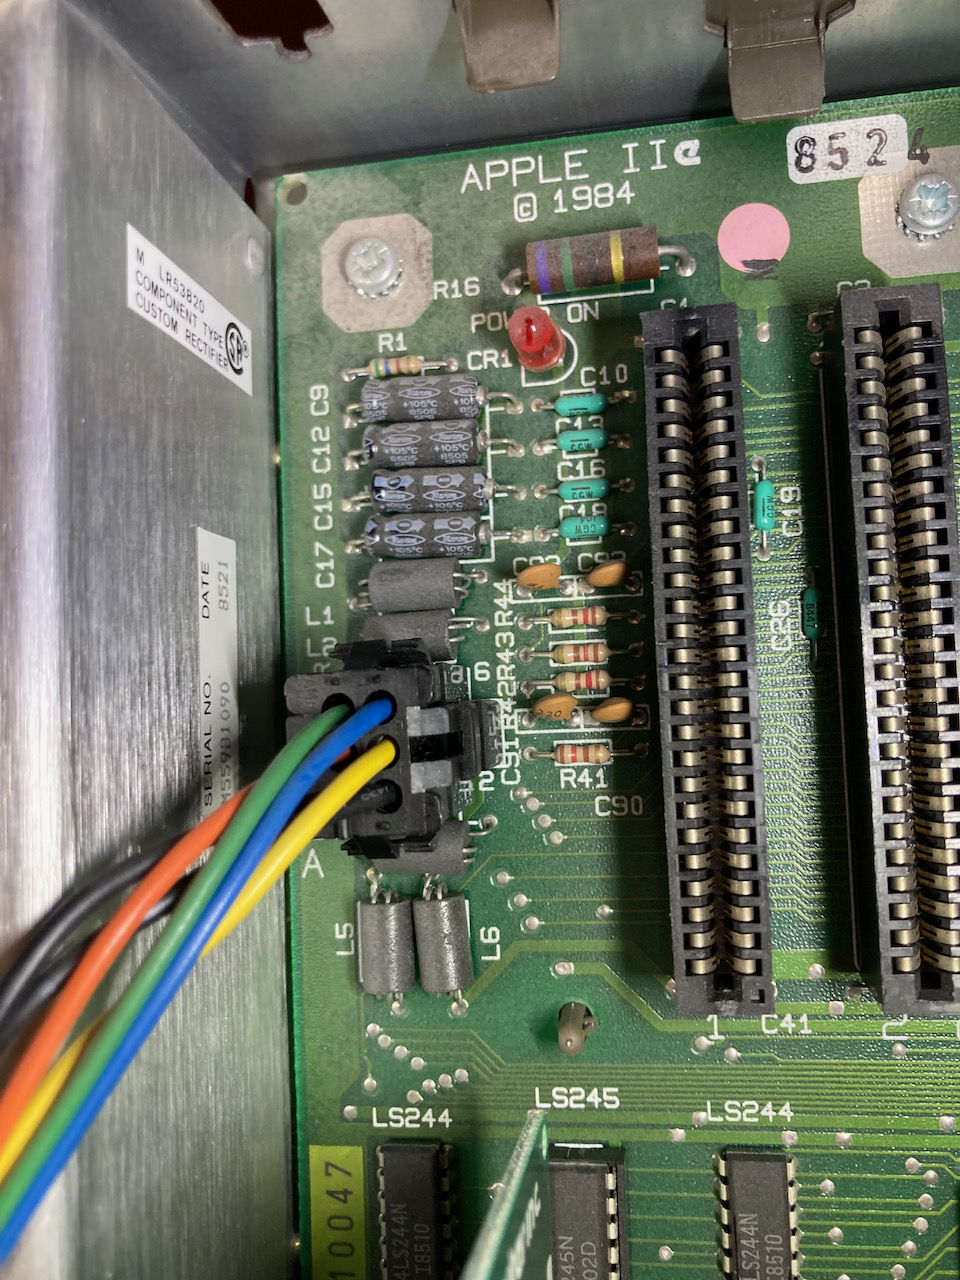
After removing the Epson printer card, I carefully disconnected the power pigtail from the main board. Apparently you have to gently press in on the long sides of the connector to loosen it. I spent a while trying to press on the short sides before figuring it out. Luckily I didn't hurt anything except my own fingers.
The power supply is held into the chassis by four screws from the bottom, which I then put back into the power supply for safe keeping.
The power supply is an Astec AA11040B, with date code 8521. That adds up with the introduction date of the IIe Enhanced in March of 1985. The copyright date on the analog board is 1980, which makes sense because the AA11040B was used in the earlier Apple II Plus as well.
Astec was a company that designed and manufactured power supplies for various microcomputers of the era, including also the IBM 5150. In this case, the power supply is a derivative of the original A2M001 Apple II power supply designed by Rod Holt (some photos of which can be seen here and here, and at U.S. Patent 4,130,862.
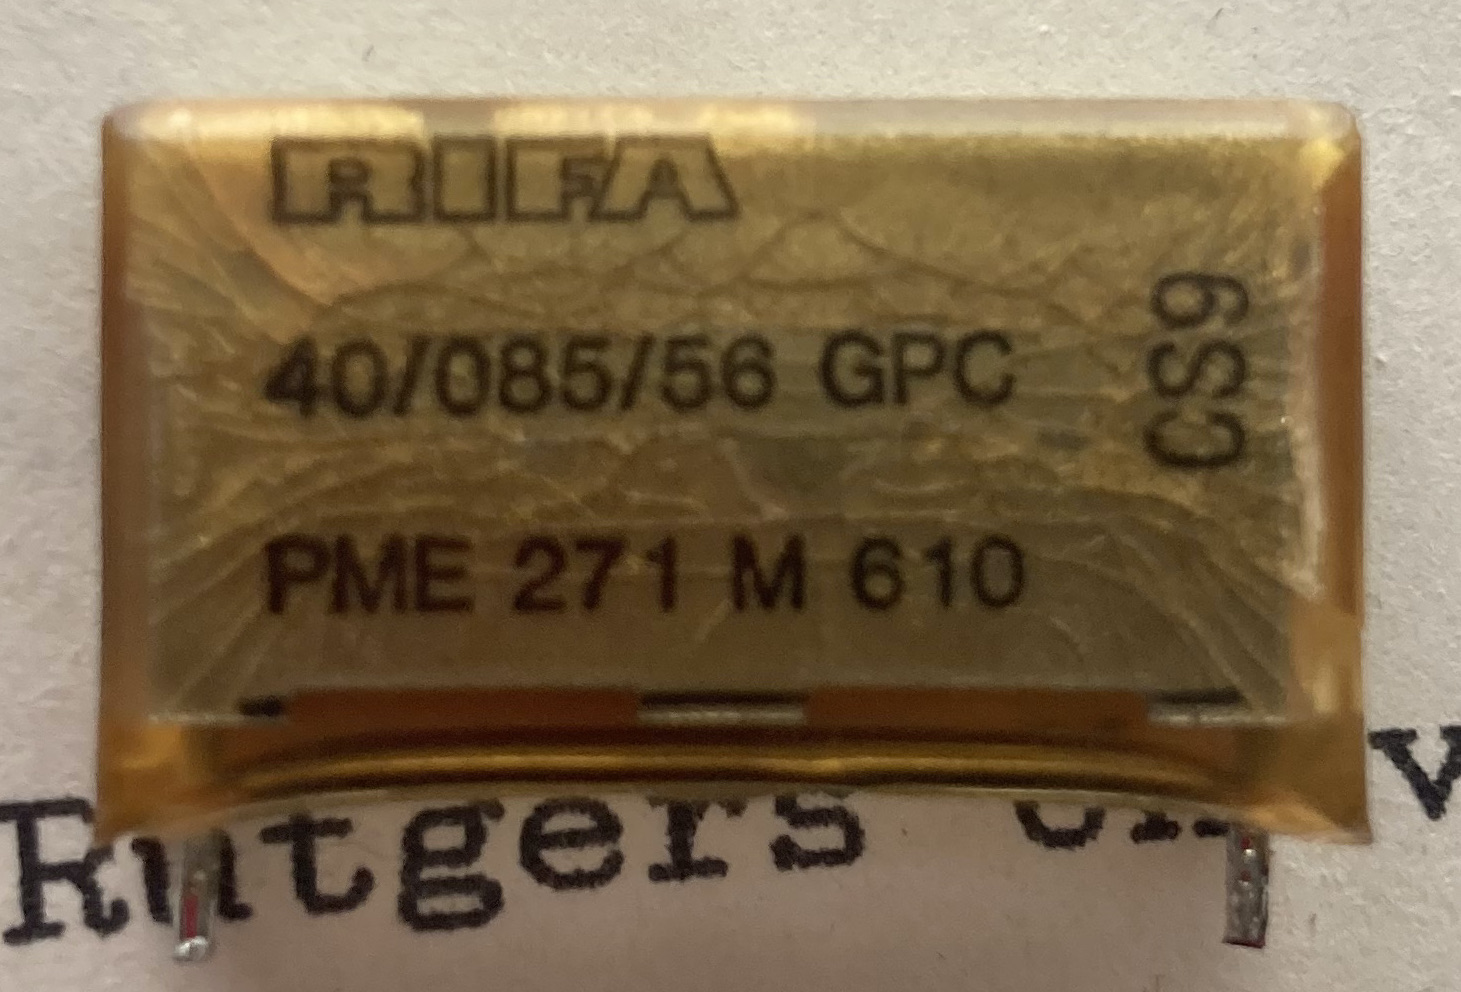
My Apple II power supply is well known nowadays for a common failure mode, namely of the RIFA filtering film capacitors across live and neutral. They're usually at C1 (0.1 µF) and C23 (0.01 µF) on the AA11040B; this video is a good demonstration on replacing them.
The problem with the RIFAs is that they slowly fail closed; doing so across live and neutral would obviously be bad.
For whatever reason, while my power supply did have a RIFA film capacitor at C1, at C23 it instead had a WIMA Z5U 0.01µF ceramic capacitor. I don't know if Astec switched parts at some point, or what.
The C1 RIFA did show some signs of cracking, so I wanted to remove it before powering up the power supply. The power supply will run well without the capacitor; it'll apparently just emit a little more noise onto the mains.
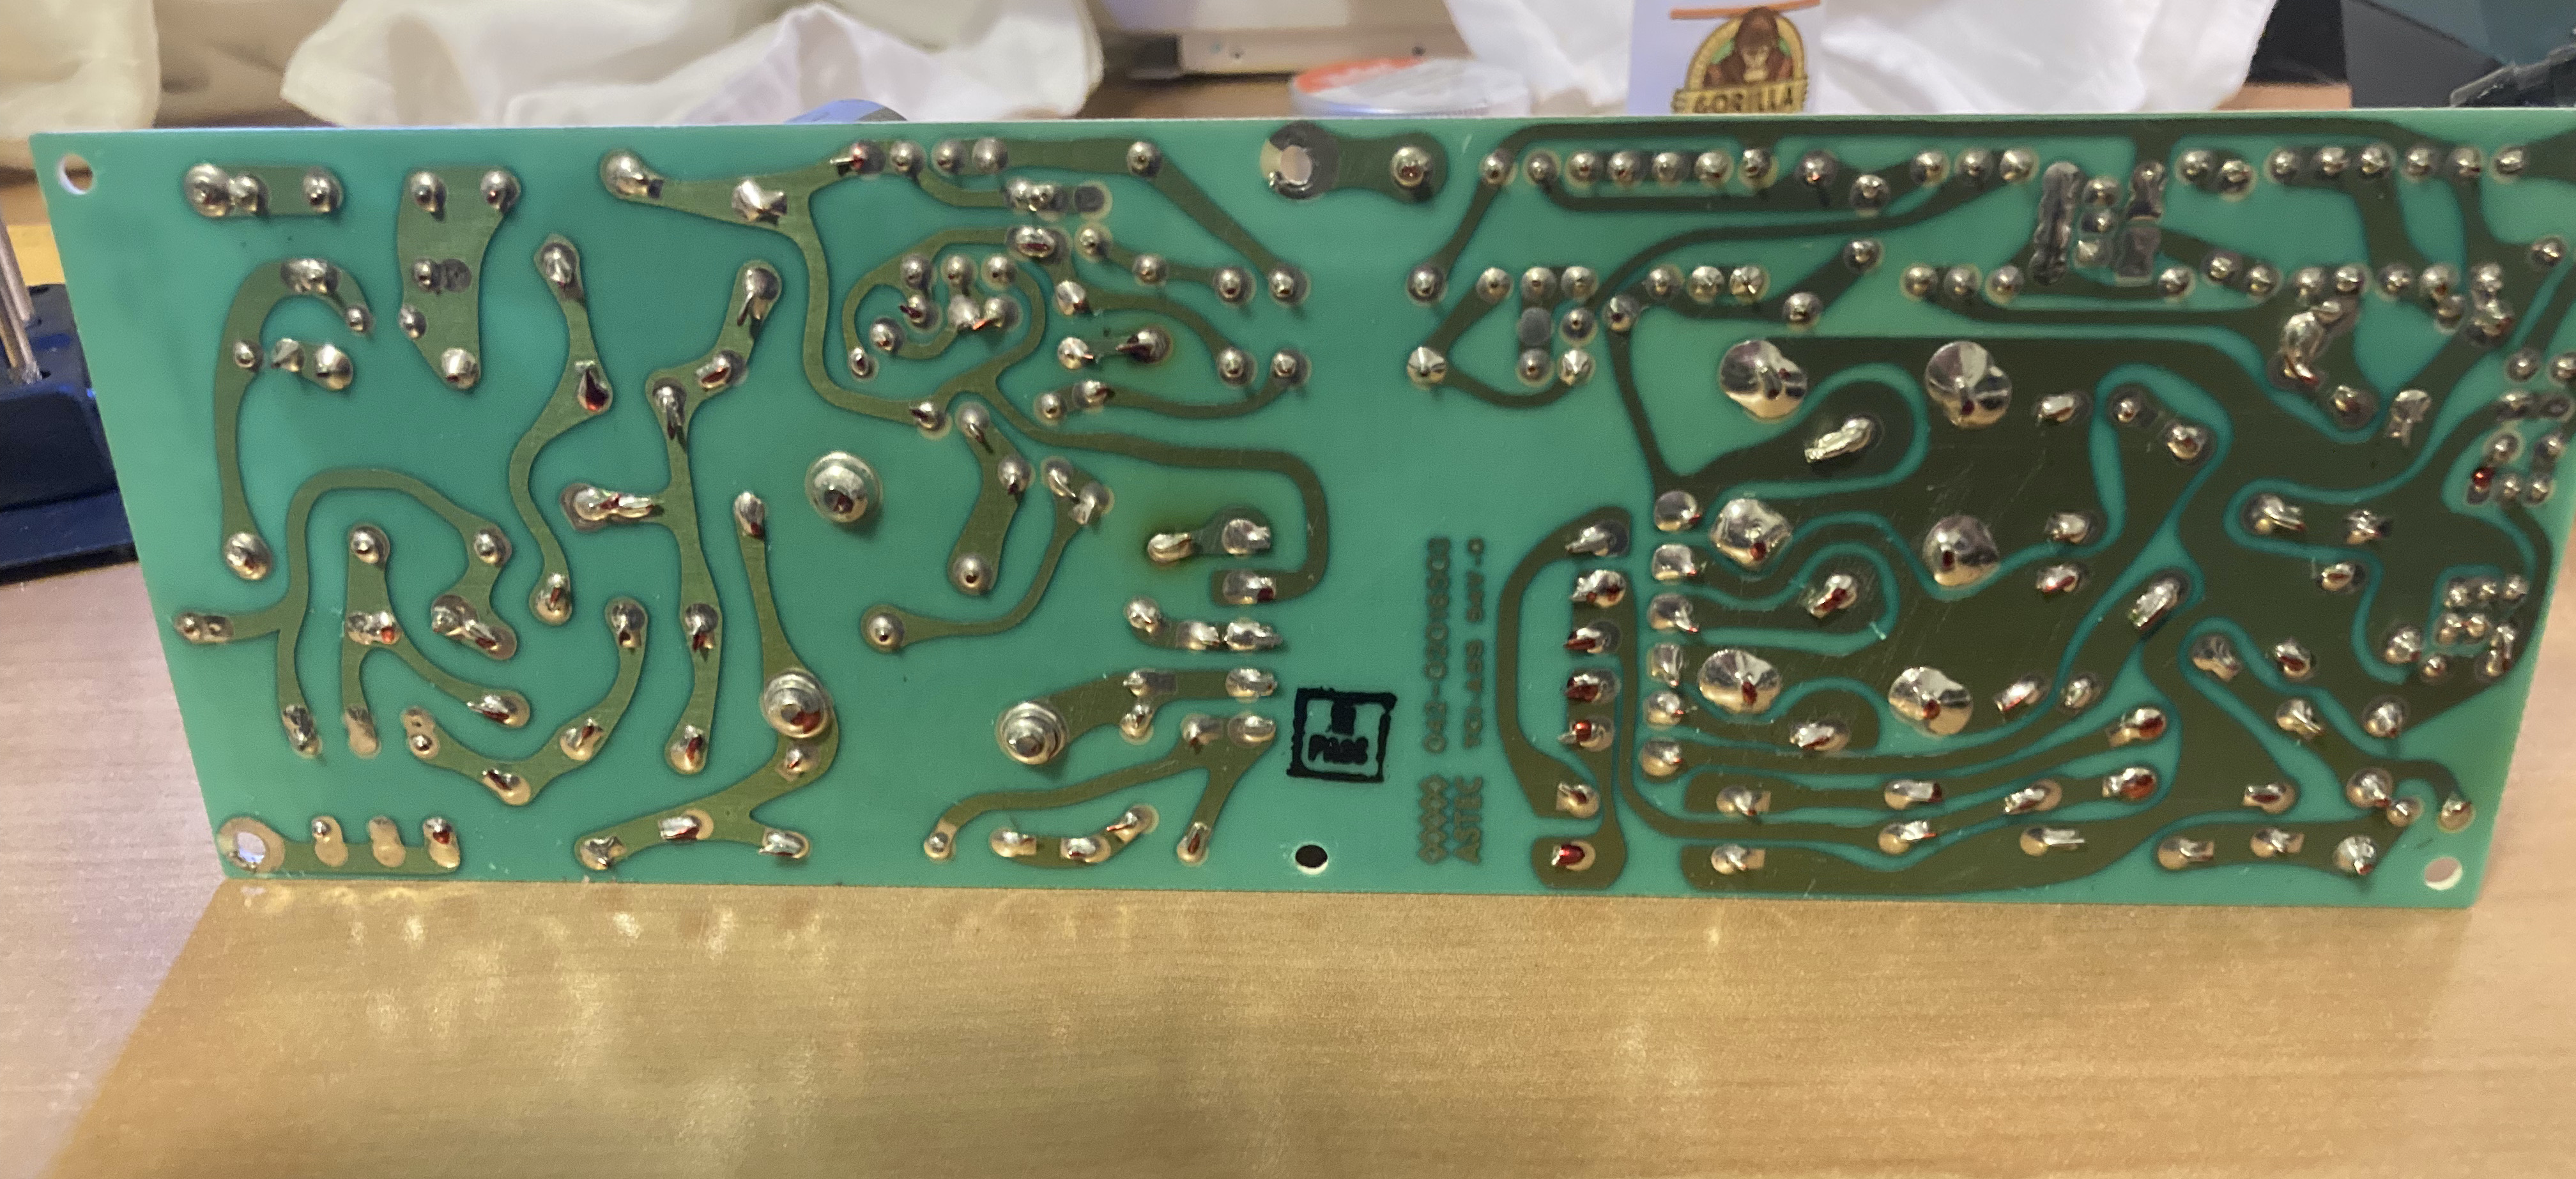
Removing C1 required first getting the power supply board out of its case, which was a huge pain in the ass. With that done, though, I had very easy access to all the components, which given the vintage of the machine are through-hole mounted and therefore easy to get at.
My C1 cap was not shorted, but I removed it anyway. I then hooked the mains back up, double-checked everything with a meter, said a little prayer, and flipped the switch.
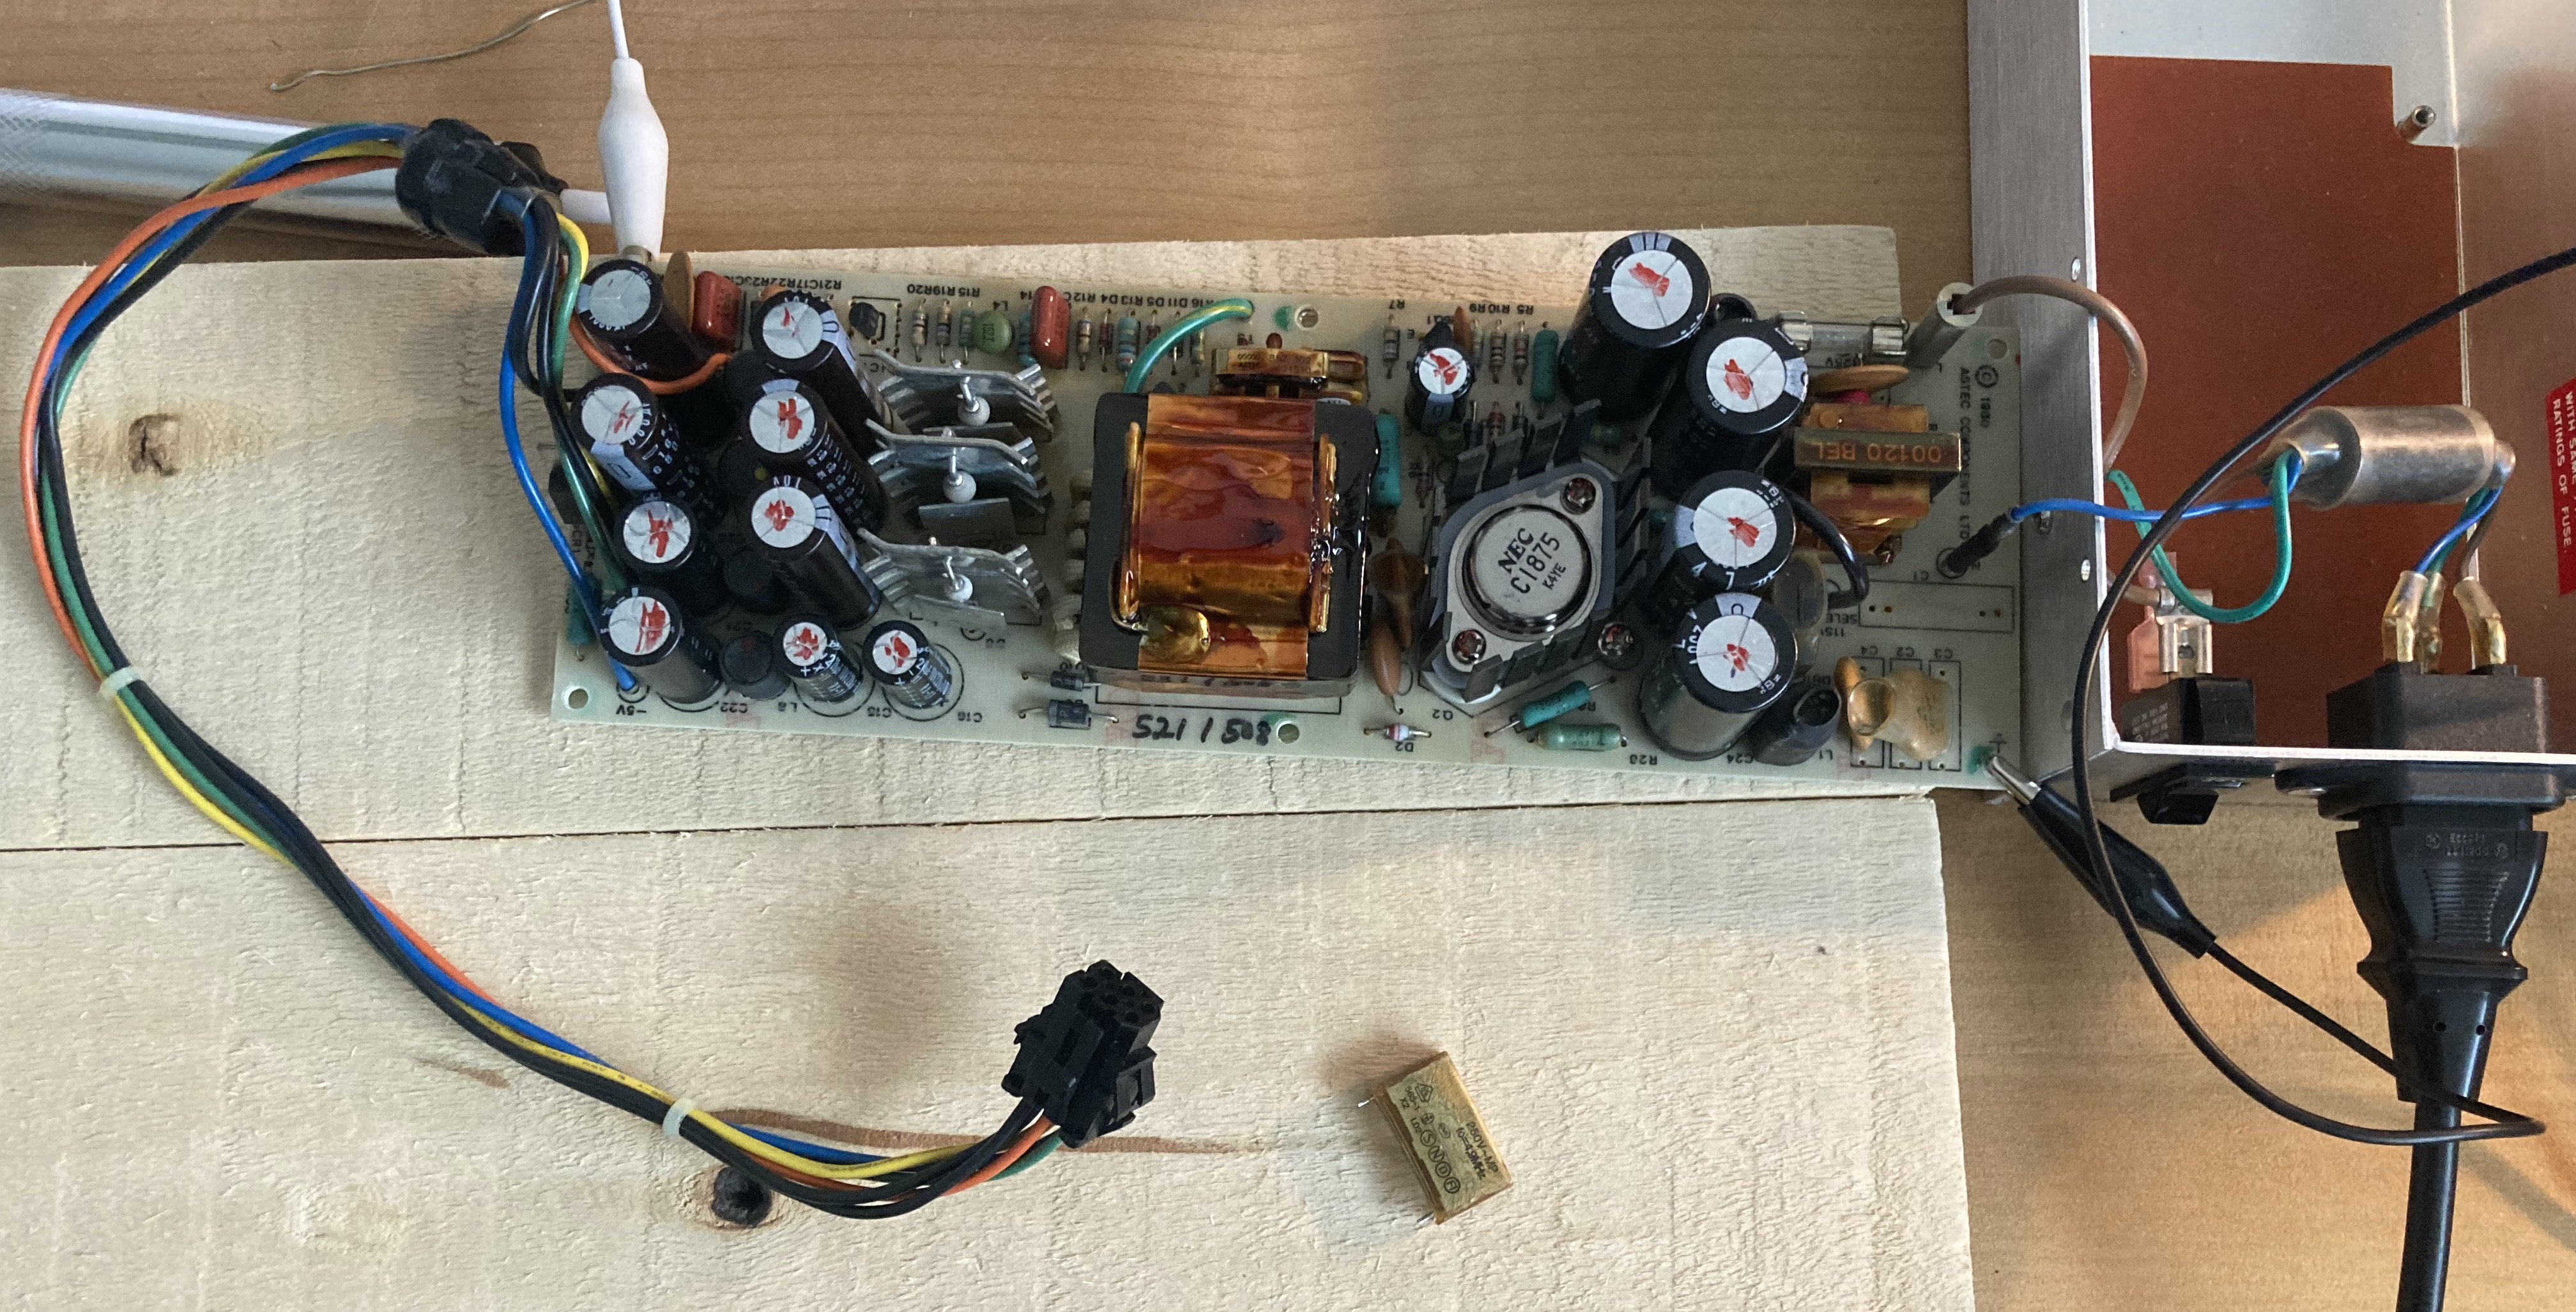
Everything worked! As in, nothing blew up, and a voltmeter showed the correct DC output voltages: +12 V, +5 V, -5 V, and -12 V.
Next up will be putting it all back together and powering up the main board.